System requirements: Snaply requires macOS 14 or newer and Apple Silicon.
Install Snaply
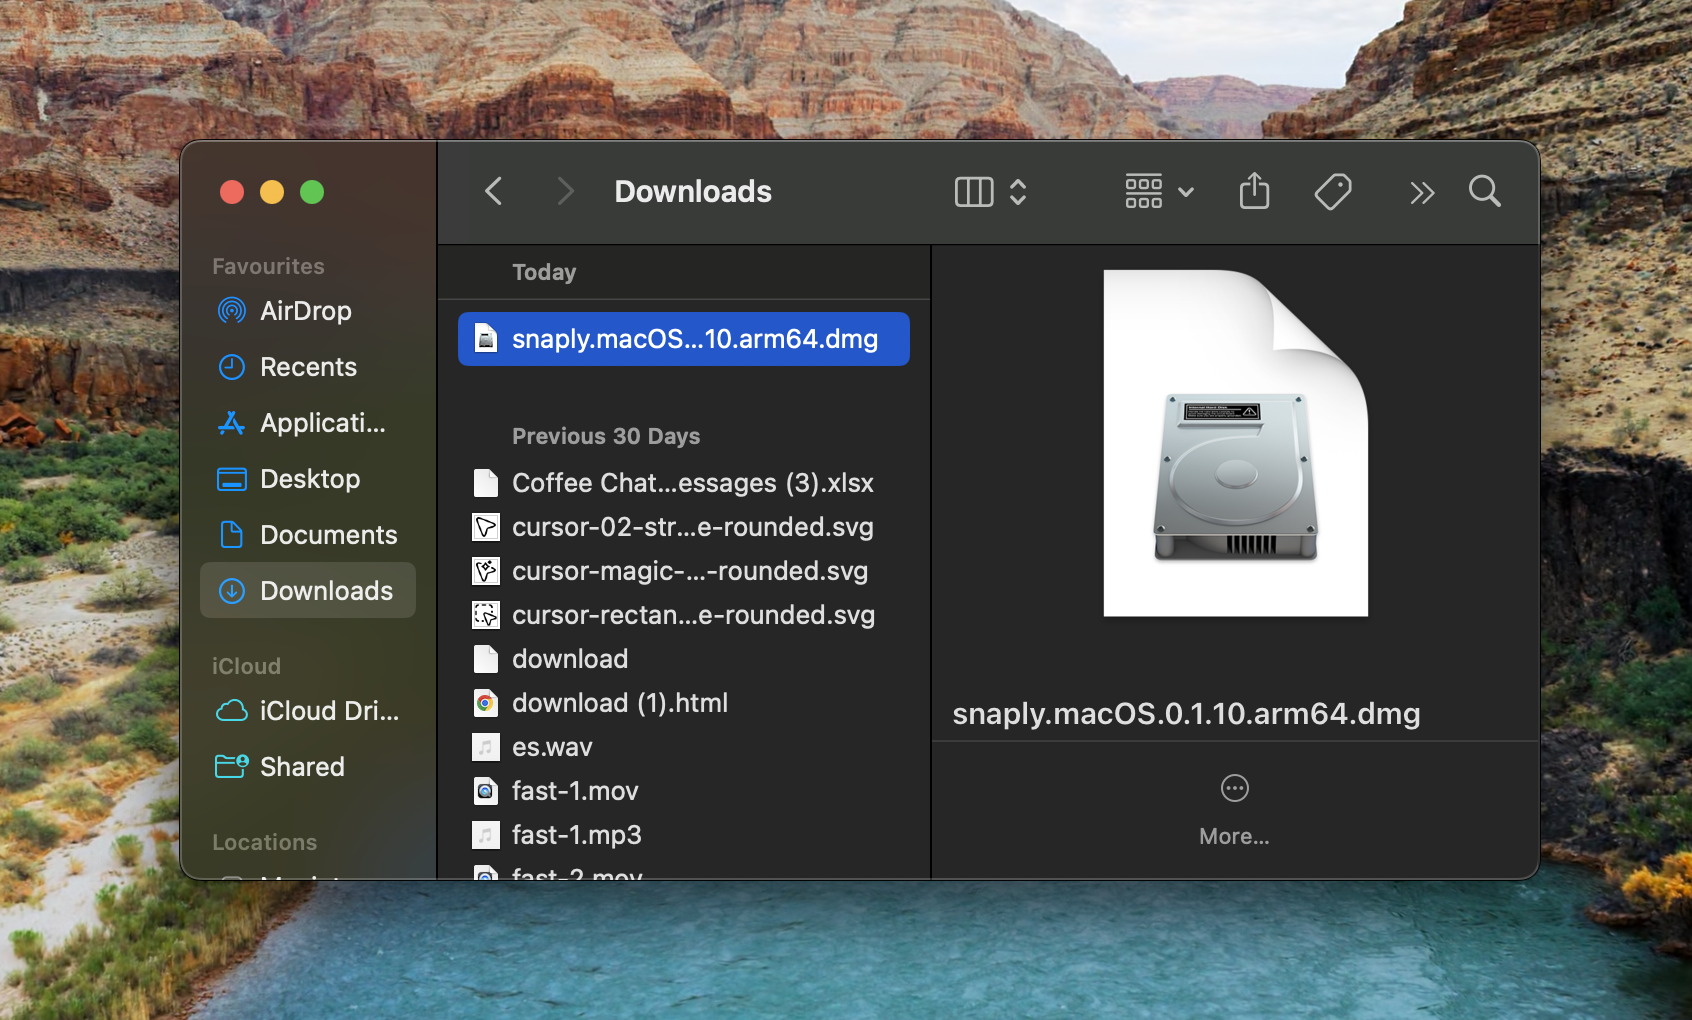
1. Download the app
Download for Mac
Get the latest Apple Silicon build
Website Overview
See the product story, feature pages, and latest download links
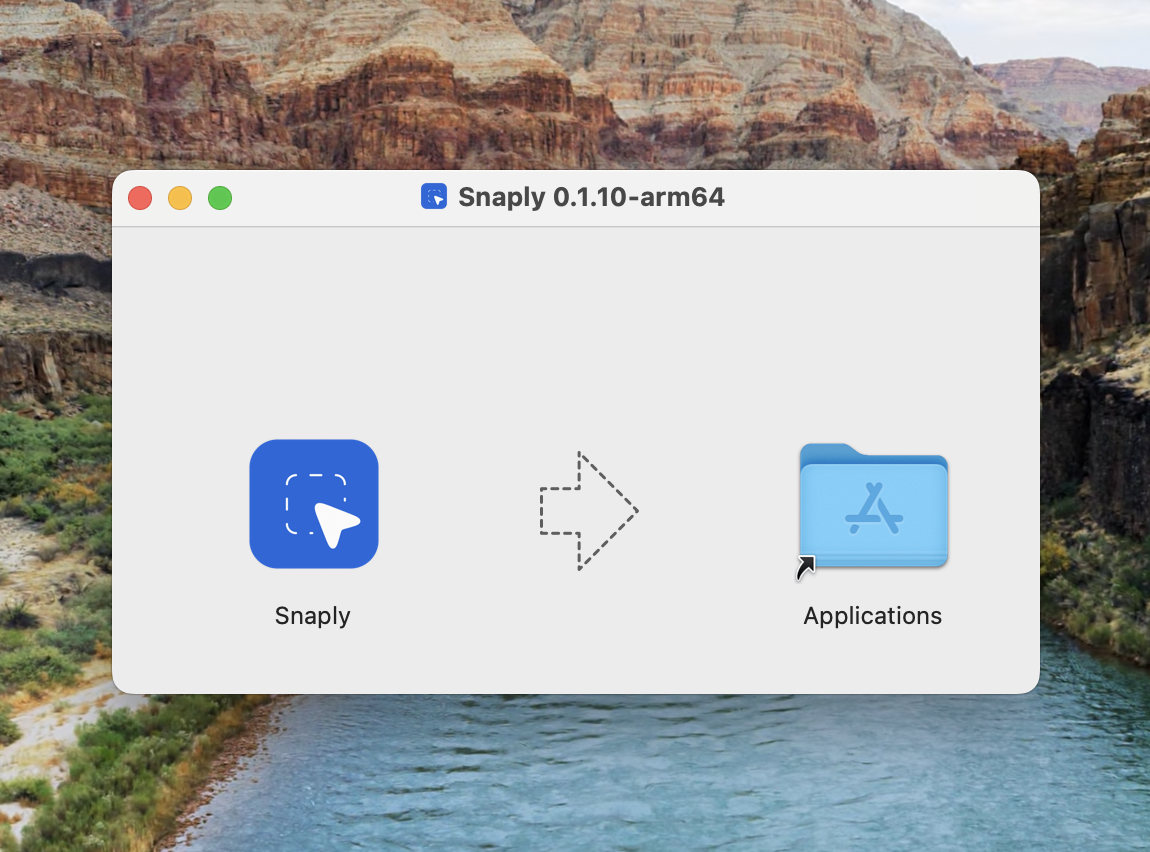
2. Move it to Applications
Complete Onboarding
On first launch, Snaply asks whether you want to start with Dictation or Meeting Notes, then walks you through the setup for that workflow. This is the only “setup-heavy” part; after that, the app is mostly shortcuts and quick overlays.- Grant Microphone access for dictation and meetings.
- Grant Accessibility access so Snaply can insert text into other apps.
- Review System Audio when you want Meeting Notes to capture the other side of a call.
- Choose your default transcription language: English or Multi-language.
- Pick your shortcut flow.
- If you want Writing Assistant or AI meeting notes, set up the model behind those features.
What To Try First
Pick one workflow and finish it end to end. That is the quickest way to make Snaply click.Dictation
Speak into any text field and let Snaply type for you.
Writing Assistant
Select text, press a shortcut, and clean it up instantly.
Meeting Notes
Record one meeting and inspect the transcript, notes, and Ask AI flow.
Popular Setups
Snaply is useful out of the box, but a few setups are especially worth knowing about:- If you already use Ollama, LM Studio, LiteLLM, or another OpenAI-compatible server, connect it from Settings -> Writing Assistant -> AI Models -> Advanced model setup.
- If a meeting already happened, upload the
WAV,M4A, orMP3recording from the Meeting Notes page. - If you use Zoom, Google Meet, or Microsoft Teams, turn on Detect meeting start and end automatically so Snaply can suggest starting and stopping capture.
- If your notes live in Obsidian, Codex workflows, project tools, or plain files, set a Markdown export folder in Settings -> Meeting Notes.
Default Shortcuts
| Action | Default | What it does |
|---|---|---|
| Dictation | Right Command | Starts and stops dictation |
| Writing Assistant | Control + Space | Opens the writing menu for selected text |
| Meeting Notes | None | Optional shortcut you can add in Settings -> Meeting Notes |
Local-First Setup
- Dictation runs locally on your Mac.
- Meeting recordings and transcripts stay on your Mac.
- Writing Assistant can use the built-in local model for private, fast edits.
- Meeting Notes builds on the same local-first foundation.
For advanced model setup, open Settings -> Writing Assistant -> AI Models. You can keep things local, choose a built-in cloud provider, or connect an OpenAI-compatible endpoint with your own base URL.