> ## Documentation Index
> Fetch the complete documentation index at: https://docs.snaply.ai/llms.txt
> Use this file to discover all available pages before exploring further.
# Getting Started
> Get started with Snaply on your Mac: install the app, grant permissions, and set up dictation, Writing Assistant, and Meeting Notes in minutes.
**The fastest way to understand [Snaply](https://snaply.ai) is to use it for one real task.**
Install it, grant the right permissions once, and then try one of the three core flows: **[dictation](/dictation/overview)**, **[writing help](/writing-assistant/overview)**, or **[meeting notes](/meeting-notes/overview)**.
**System requirements:** Snaply requires macOS 14 or newer and Apple Silicon.
## Install Snaply
### 1. Download the app
Get the latest Apple Silicon build
See the product story, feature pages, and latest download links
### 2. Move it to Applications
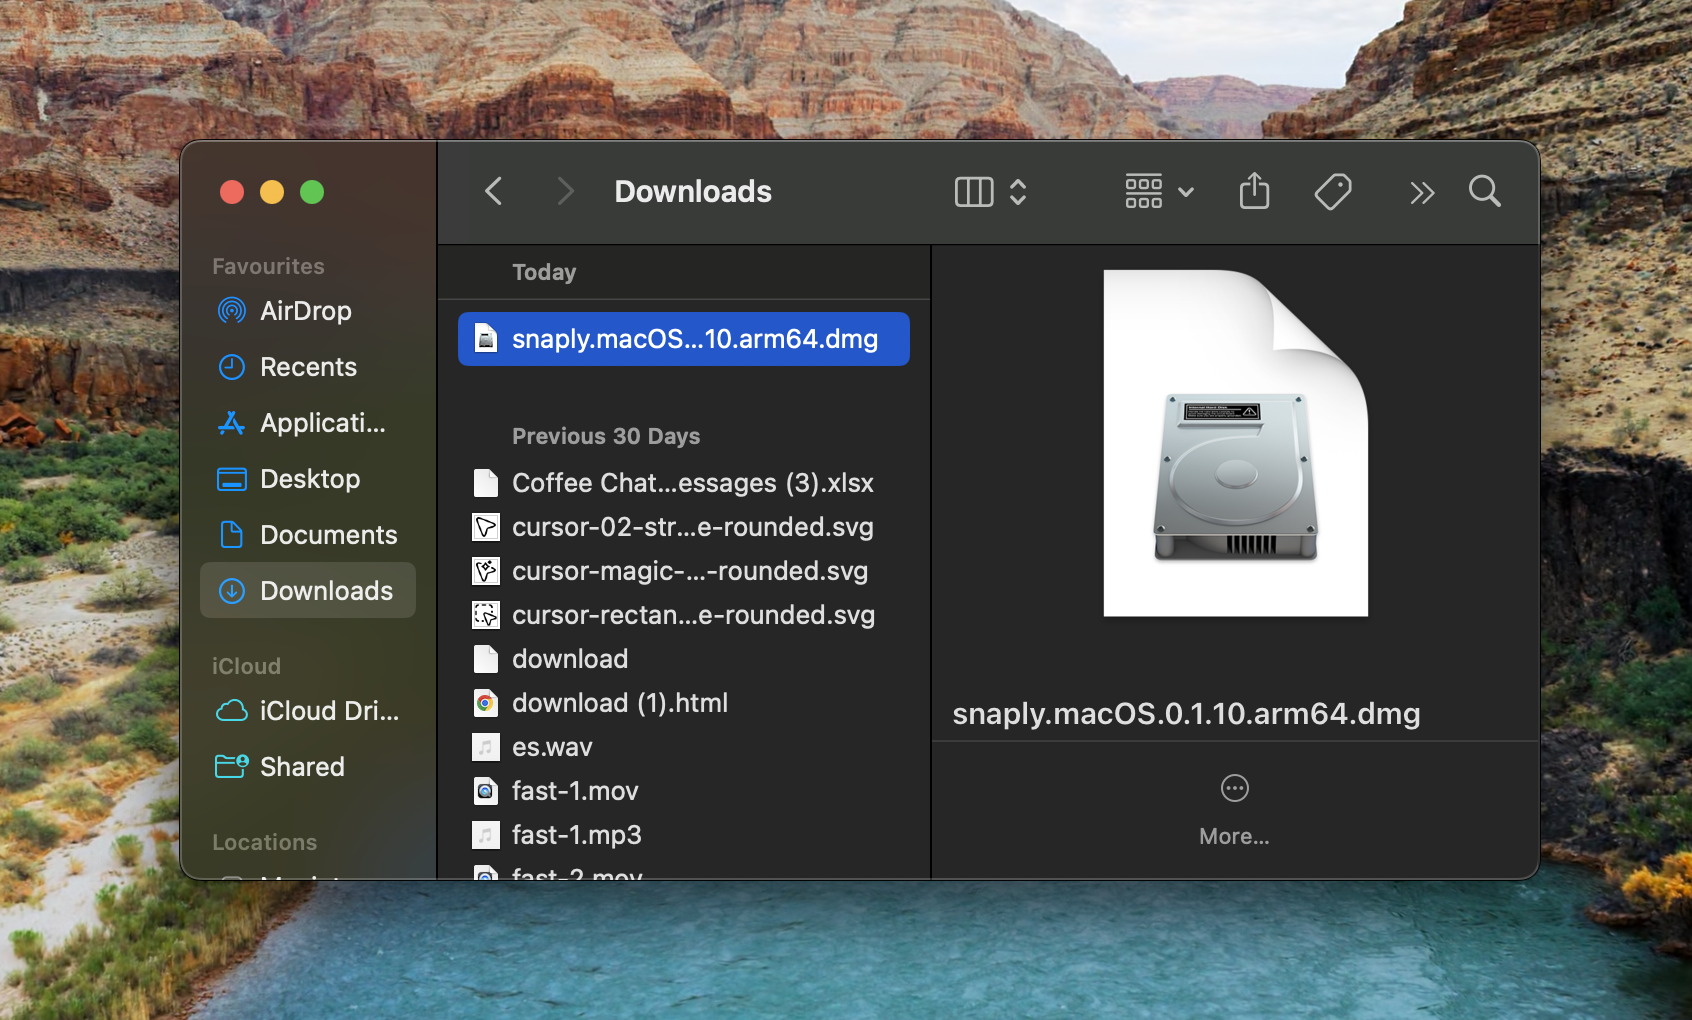
Double-click **Snaply.dmg** in your Downloads folder.
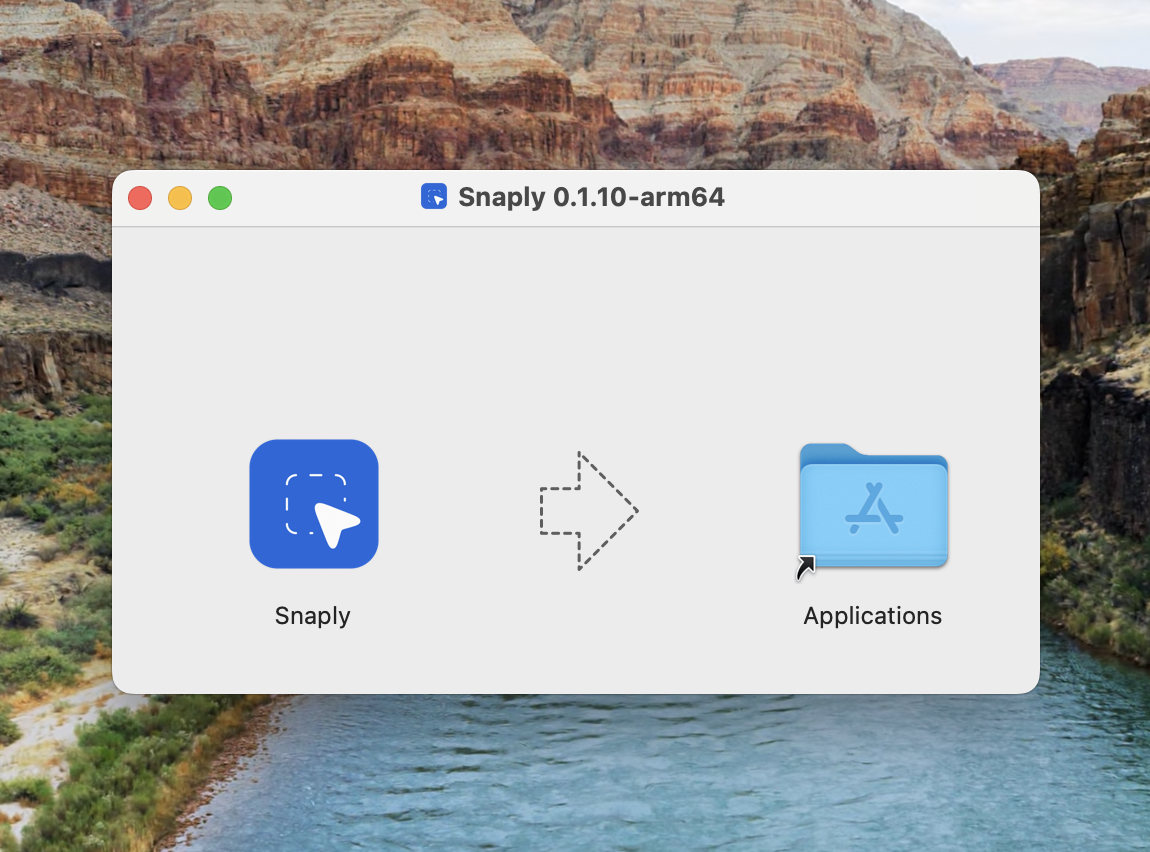
 Drag the Snaply icon into the Applications folder.
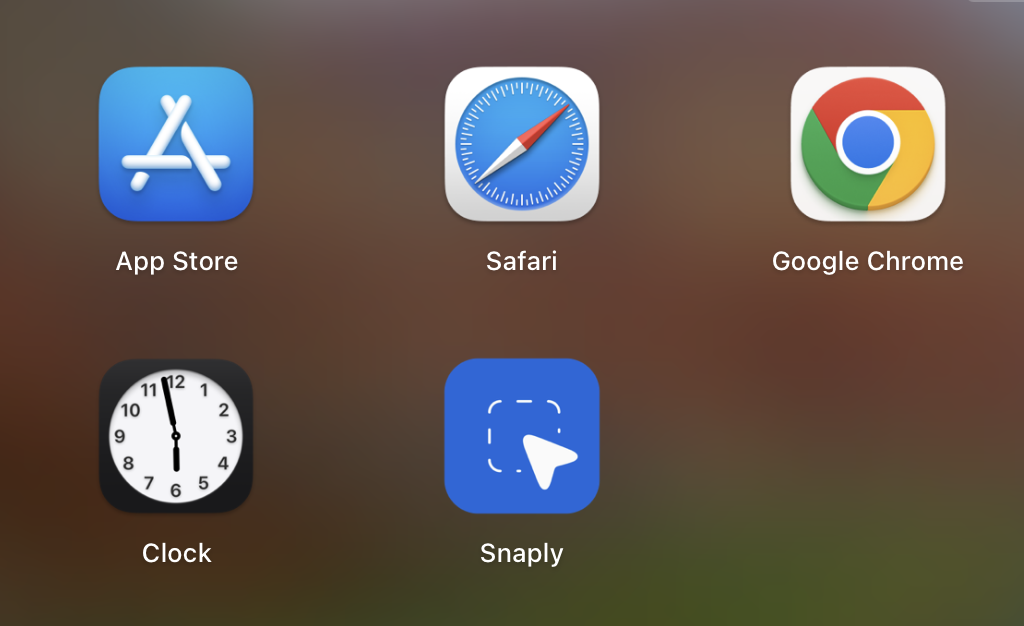
 Open Snaply from your Applications folder.
 ## Complete Onboarding
On first launch, Snaply asks whether you want to start with **Dictation** or **Meeting Notes**, then walks you through the setup for that workflow. This is the only "setup-heavy" part; after that, the app is mostly shortcuts and quick overlays.
1. Grant **Microphone** access for dictation and meetings.
2. Grant **Accessibility** access so Snaply can insert text into other apps.
3. Review **System Audio** when you want Meeting Notes to capture the other side of a call.
4. Choose your default transcription language: **English** or **Multi-language**.
5. Pick your shortcut flow.
6. If you want Writing Assistant or AI meeting notes, set up the model behind those features.
For [Meeting Notes](/meeting-notes/overview), Snaply may also ask you to review **System Audio** so it can capture the other side of a call, not just your microphone. On Macs with diarization support, Snaply can also separate the transcript into speaker turns.
## What To Try First
Pick one workflow and finish it end to end. That is the quickest way to make Snaply click.
**Speak into any text field** and let Snaply type for you.
**Select text, press a shortcut,** and clean it up instantly.
**Record one meeting** and inspect the transcript, notes, and Ask AI flow.
## Popular Setups
Snaply is useful out of the box, but a few setups are especially worth knowing about:
* If you already use **Ollama**, **LM Studio**, **LiteLLM**, or another OpenAI-compatible server, connect it from **Settings -> Writing Assistant -> AI Models -> Advanced model setup**.
* If a meeting already happened, upload the `WAV`, `M4A`, or `MP3` recording from the **Meeting Notes** page.
* If you use Zoom, Google Meet, or Microsoft Teams, turn on **Detect meeting start and end automatically** so Snaply can suggest starting and stopping capture.
* If your notes live in Obsidian, Codex workflows, project tools, or plain files, set a **Markdown export** folder in **Settings -> Meeting Notes**.
## Default Shortcuts
| Action | Default | What it does |
| ----------------- | ----------------- | -------------------------------------------------------------- |
| Dictation | `Right Command` | Starts and stops dictation |
| Writing Assistant | `Control + Space` | Opens the writing menu for selected text |
| Meeting Notes | None | Optional shortcut you can add in **Settings -> Meeting Notes** |
## Local-First Setup
* **[Dictation](/dictation/overview)** runs locally on your Mac.
* **[Meeting recordings and transcripts](/meeting-notes/overview)** stay on your Mac.
* **[Writing Assistant](/writing-assistant/overview)** can use the built-in local model for private, fast edits.
* **[Meeting Notes](/meeting-notes/overview)** builds on the same local-first foundation.
For advanced model setup, open **Settings -> Writing Assistant -> AI Models**. You can keep things local, choose a built-in cloud provider, or connect an OpenAI-compatible endpoint with your own base URL.
## Next Steps
* [Start with Dictation](/dictation/overview)
* [Set up the Writing Assistant](/writing-assistant/overview)
* [Record your first meeting](/meeting-notes/overview)
* [Read the website feature overview](https://snaply.ai)
## Complete Onboarding
On first launch, Snaply asks whether you want to start with **Dictation** or **Meeting Notes**, then walks you through the setup for that workflow. This is the only "setup-heavy" part; after that, the app is mostly shortcuts and quick overlays.
1. Grant **Microphone** access for dictation and meetings.
2. Grant **Accessibility** access so Snaply can insert text into other apps.
3. Review **System Audio** when you want Meeting Notes to capture the other side of a call.
4. Choose your default transcription language: **English** or **Multi-language**.
5. Pick your shortcut flow.
6. If you want Writing Assistant or AI meeting notes, set up the model behind those features.
For [Meeting Notes](/meeting-notes/overview), Snaply may also ask you to review **System Audio** so it can capture the other side of a call, not just your microphone. On Macs with diarization support, Snaply can also separate the transcript into speaker turns.
## What To Try First
Pick one workflow and finish it end to end. That is the quickest way to make Snaply click.
**Speak into any text field** and let Snaply type for you.
**Select text, press a shortcut,** and clean it up instantly.
**Record one meeting** and inspect the transcript, notes, and Ask AI flow.
## Popular Setups
Snaply is useful out of the box, but a few setups are especially worth knowing about:
* If you already use **Ollama**, **LM Studio**, **LiteLLM**, or another OpenAI-compatible server, connect it from **Settings -> Writing Assistant -> AI Models -> Advanced model setup**.
* If a meeting already happened, upload the `WAV`, `M4A`, or `MP3` recording from the **Meeting Notes** page.
* If you use Zoom, Google Meet, or Microsoft Teams, turn on **Detect meeting start and end automatically** so Snaply can suggest starting and stopping capture.
* If your notes live in Obsidian, Codex workflows, project tools, or plain files, set a **Markdown export** folder in **Settings -> Meeting Notes**.
## Default Shortcuts
| Action | Default | What it does |
| ----------------- | ----------------- | -------------------------------------------------------------- |
| Dictation | `Right Command` | Starts and stops dictation |
| Writing Assistant | `Control + Space` | Opens the writing menu for selected text |
| Meeting Notes | None | Optional shortcut you can add in **Settings -> Meeting Notes** |
## Local-First Setup
* **[Dictation](/dictation/overview)** runs locally on your Mac.
* **[Meeting recordings and transcripts](/meeting-notes/overview)** stay on your Mac.
* **[Writing Assistant](/writing-assistant/overview)** can use the built-in local model for private, fast edits.
* **[Meeting Notes](/meeting-notes/overview)** builds on the same local-first foundation.
For advanced model setup, open **Settings -> Writing Assistant -> AI Models**. You can keep things local, choose a built-in cloud provider, or connect an OpenAI-compatible endpoint with your own base URL.
## Next Steps
* [Start with Dictation](/dictation/overview)
* [Set up the Writing Assistant](/writing-assistant/overview)
* [Record your first meeting](/meeting-notes/overview)
* [Read the website feature overview](https://snaply.ai)